For anyone who's been following along over the past few weeks I've been exploring print making with hand carved stamps and lino-cuts for making patterns and other works of art. Today I'm mostly going to touch on stamp making. Stamp making on rubber is pretty simple, lino-cutting is a little more complicated only because linoleum can be pretty tough to carve. There are several different mediums that can be used besides rubber and linoleum but so far I've only explored those two. I'm finding that the linoleum is great for working on a print that's going to have a lot of detail, it also requires a bit more work to get a good print to include print making inks. Rubber is good for stamping and a simple ink pad is all that's needed to make a mark. I like to create rubber stamps if I need something quick and simple for a pattern I am working on.

My daughter Mia making a print with her very first hand-carved stamp
To get started I recommend using rubber first. You'll need some scrap paper, a pencil, a sharpie, a rubber speedy cut block and a Speedball linoleum cutter. These items can be purchased via the links on Amazon (free shipping with Prime) or you can stop by your local Hobby Lobby. Unfortunately Michael's doesn't carry block cutting supplies. Once you have your supplies in hand spend some time researching your ideas and drawing thumbnails. Start with something simple and remember that you'll need to put your design on your rubber in reverse, especially text, otherwise you'll end up with a backwards mess. The nice thing about the rubber and linoleum is that it takes well to pencil so sketch your design out first in pencil and then go over it with a sharpie if needed. When you are ready to carve, start with the V cutter, moving it carefully away from your body. The U tools are useful for carving out larger areas but with the Speedball tools I find the larger V tool gets the job done. When you are done carving just ink, stamp and repeat. It's that easy.
When I'm done with my stamps I usually bring the imprints I make with them into Adobe Illustrator and create patterns, that's just one of many ways to use hand-made stamps.
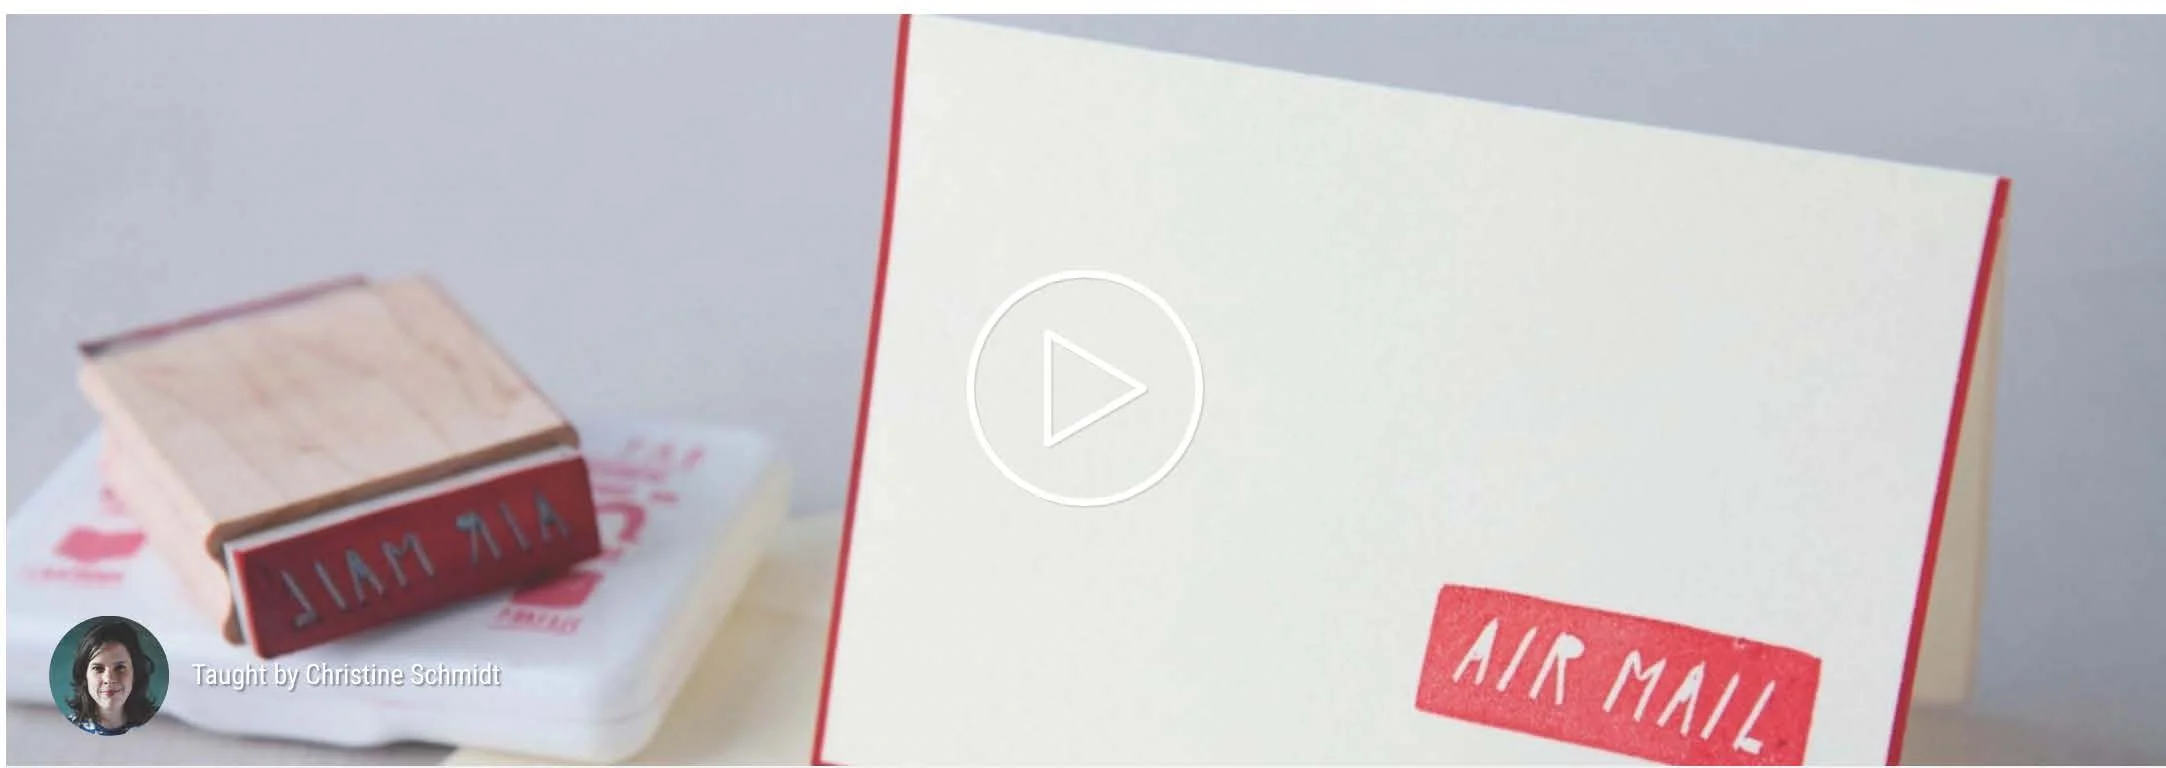
If you need a little more direction, here's a quick CreativeBug video on stamp making, you can sign up for a free trial if you don't already have an account with them. There are also plenty of good tutorials on YouTube and a few good books. A good and really pretty starter book is Making an Impression: Designing & Creating Artful Stamps, by Geninne Zlatkis.
Good luck and please let me know how it goes by leaving a comment! Be sure to sign up for my newsletter for upcoming posts and tutorials.