Recycle your Boxes into DIY Gift Tags
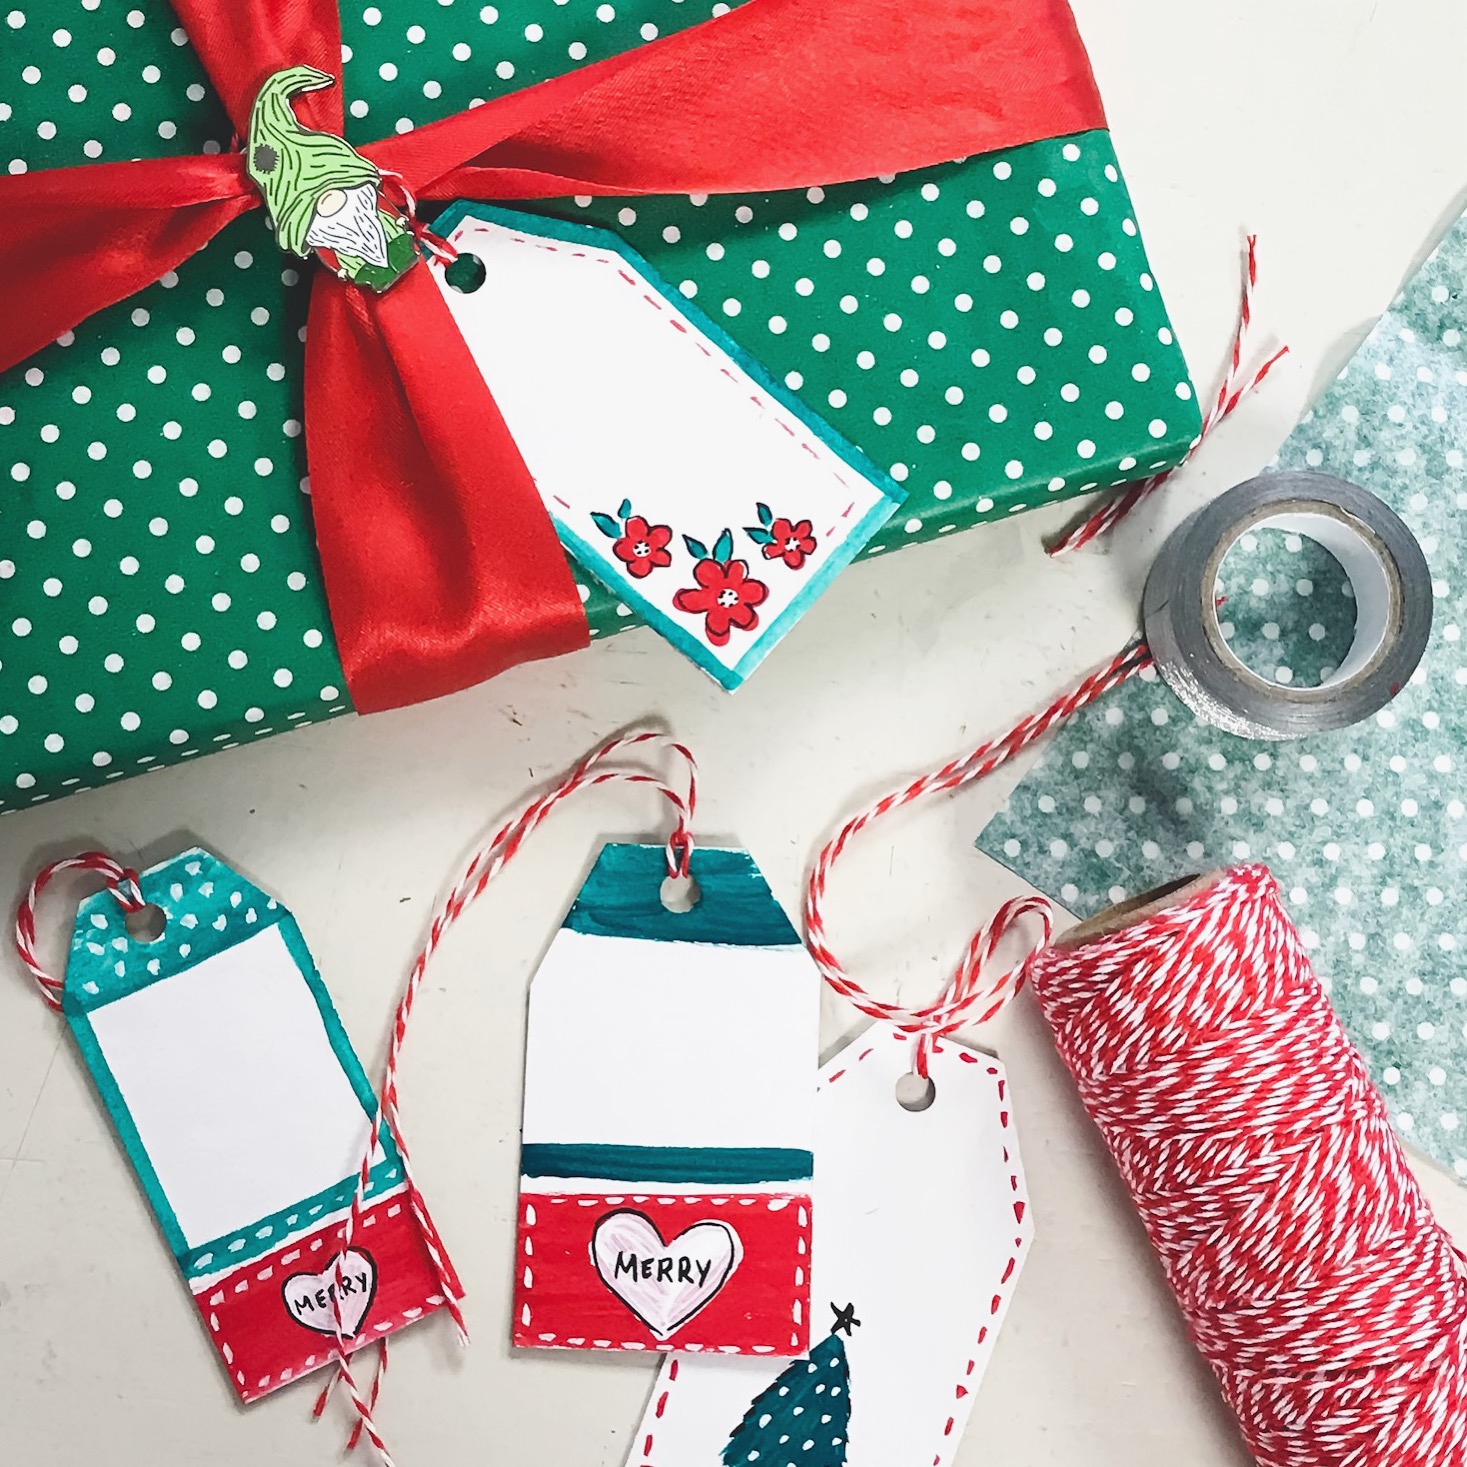
Tis the season for lots of shopping and if you buy online, almost everything comes in a box or with cardboard inserts. Sometimes the cardboard is kind of nice, fancy on one side, blank on the other or in such good shape that it seems like a waste to throw it away. If you’re like me and forgot to buy gift tags but are so over Christmas shopping that you don’t want to step foot into another store to pick some up, this is your opportunity to recycle some of those boxes into gift tags. I did just that with a few small boxes I found in my studio. They were white on one side and plain on the other. I dug out some acrylic gauche and painted the white side. The photos I took are pretty self explanatory but for those who just like things that come with instructions, here’s a few tips and things you might need to make your own DIY holiday gift tags.
Supplies:
Cardboard- on the thinner side will be easier to cut
Scissors or cutting board
Ribbon or Twine
Paint or markers- I used acrylic gauche
Hole punch
Make It
Trim your cardboard into as many rectangles as you can. 2” wide and 3” long is a good starting point Mine are various sizes because variety is fun.
After you have your rectangles made, trim off the top two corners, be careful not to trim them too much, you’ll want the middle of the tag to remain straight.
Punch a hole in the middle of the two corners about 1/8” down from the top of the tag.
Get out your paint or markers and add your festive flair. I left enough room on each tag to right names, but you can always paint or draw on the entire front and save the back for names.
Cut your ribbon or twine into 10” pieces and then loop them through the holes leaving the ends untied so you can secure them to your gift bags or gifts.
And that’s it, it’s that easy! Save those boxes and make some tags.
Tags cut from extra gift boxes
Have fun and paint whatever you’d like on your tags.
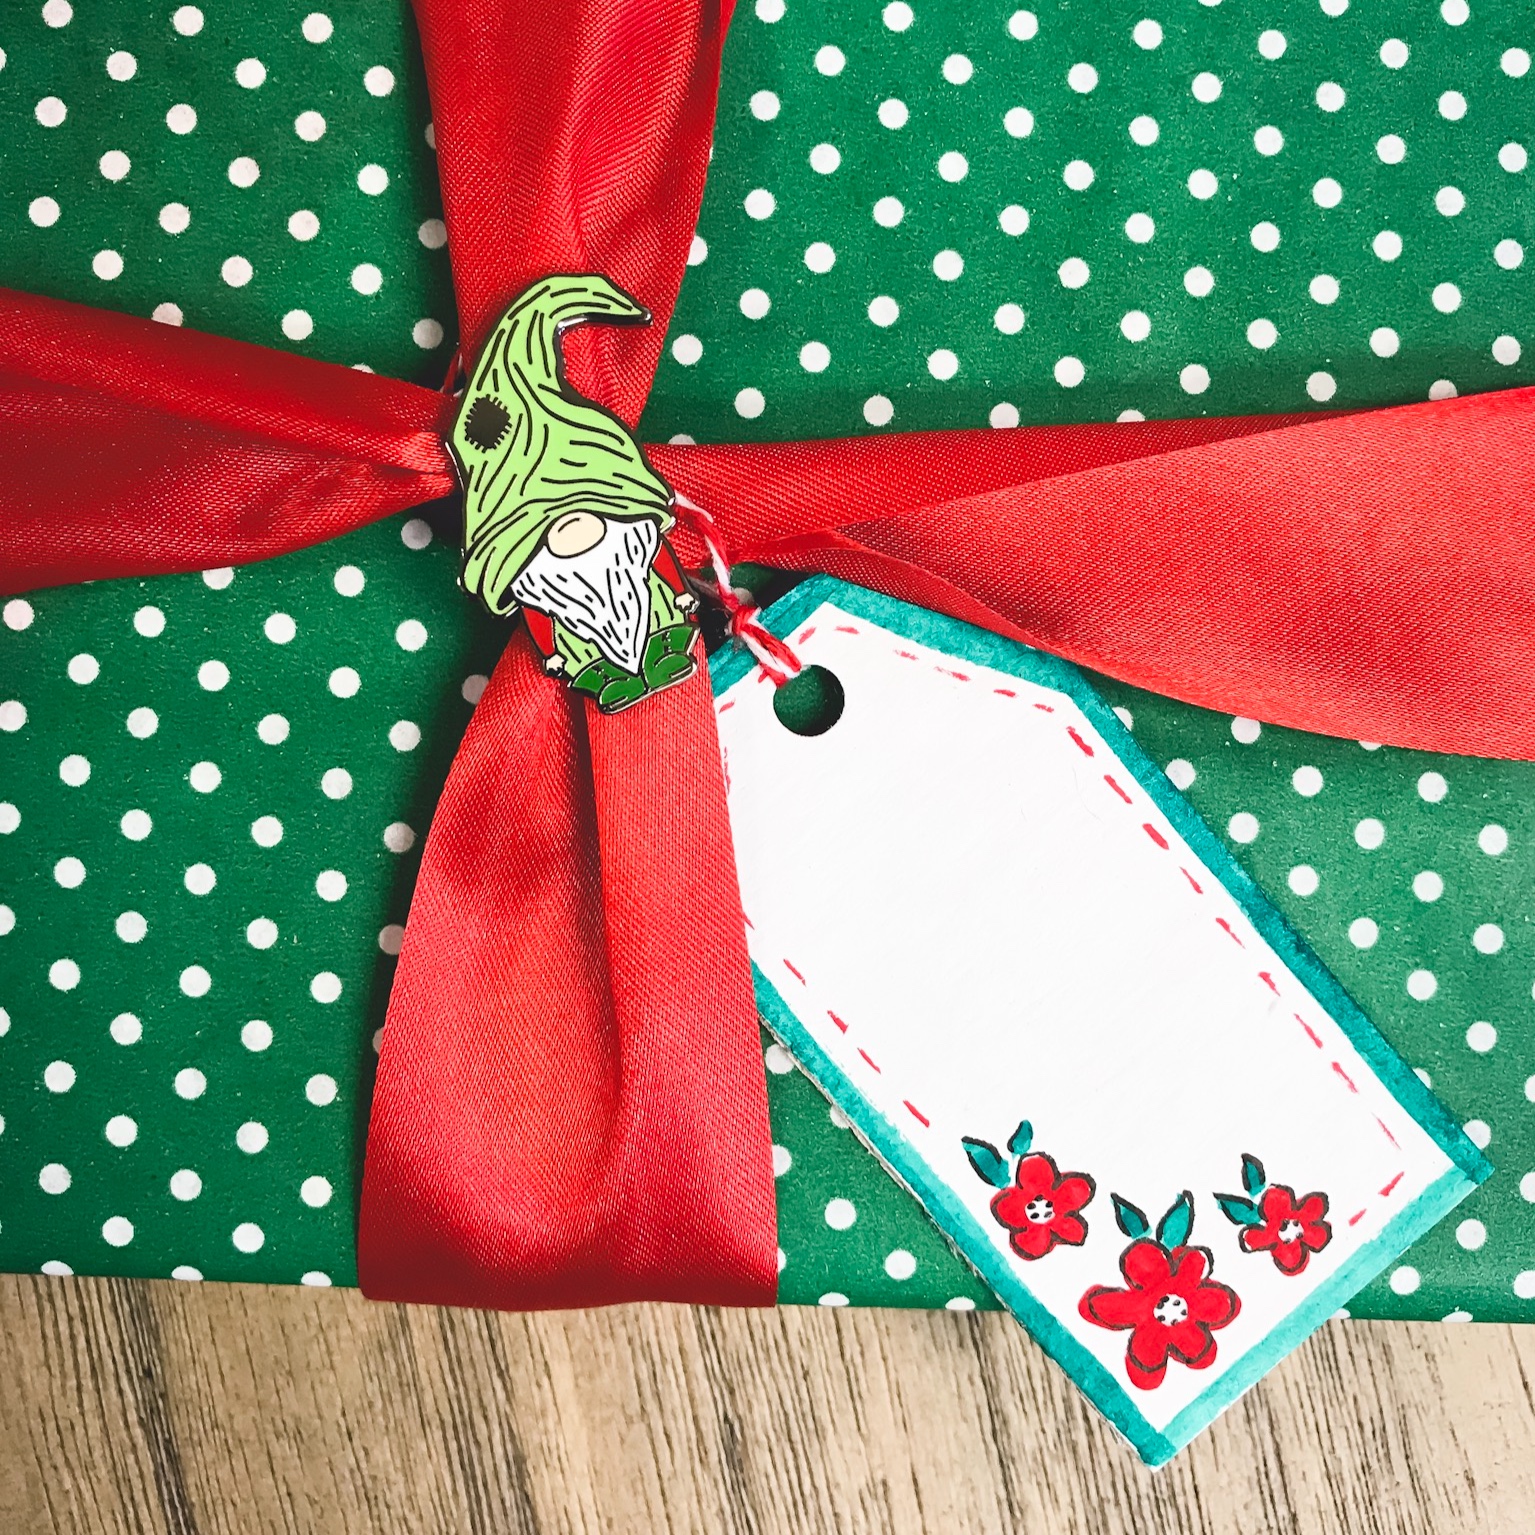
Once your tags are dry, add the ribbon and then tie the to a wrapped gift.
You can find the gnome enamel pin I’ve used to pin the ribbon in my Etsy shop.


