Beer label illustration for Dirtbag Ales’ Jalapeño Business. Here’s a summery of my thoughts and process on this one.
Read MoreProduce Illustrations for Freshlist
Fruits and vegetables are at the top of my “favorite things to draw list”. I was very happy when a project in the form of fruits and vegetables came my way back in August when I got an illustration request from a Charlotte, NC based food delivery company called Freshlist.
Read MoreBecause my flowers are gone
Here’s the first of my “because my flowers are gone I will just draw them until they come back” illustrations.
Read MoreIt starts off sloppy
Read about why I’ve gone digital for most of my art, this cute Weimaraner waiting under the mistletoe card and watch the time-lapse of me drawing it.
Read MoreBee Garden
Bees seem to have become a reoccurring theme in the artwork I produce and for a good reason, we need them to pollinate the gardens where our food grows. The more I learn about these fuzzy yellow insects, the more fascinated I become with them. And equal to my fascination is my concern for their well being.
Read More100 Days of Pollinators
Every year on April 3rd the 100 Day Project begins. The 100 Day Project is an international art project that anyone can participate in. It's truly an amazing adventure for all involved either by making art or following along. I've found that the 100 day project is an opportunity to grow as an artist and establish a solid routine.
Read MoreMy simple fix to creative block
Sometimes creative block gets the best of me and spins me into a day, sometimes a string of days of creative despair. Creative block is pretty terrible when it hits and it's a great feeling when it finally floats away. But where does it come from in the first place and why does it have to bother me when I have things to do?
Read MoreA Sweet New Collection
It's about a week into August and I'm not sure where the summer went but that's ok. I'm kind of glad summer is almost over because it means things will start to slow down! In June my family and I started our moved back to North Carolina so for those who are wondering, yes, I am finally back in Southern Pines. I am thrilled to be home again and thankful that my schedule is finally back to normal.
Despite being super busy with the move and getting settled in, I've still managed to produce a good amount of artwork much of which I've turned into adorable patterns. As a result, I've got a lot of new designs available for purchase in my Spoonflower shop and more on the way.
My sales on Spoonflower have finally started picking up. I'm finally making enough to pay for my swatches which is awesome, it means I'm finally getting somewhere with this.
In my opinion, my latest collection, Sweet Piggies, is the best design I've done this summer. I'm extremely impressed with the quality of fabric swatches I received from Spoonflower, the colors are vibrant and the line quality is crisp. As with every design, these sweet piggies and their snacks started as a simple black and white doodle.
My Pig is Always Flying
The phrase "When pigs fly" is an idiom similar to "when hell freezes over". It's a funny but rather pessimistic phrase, however it's one of my favorites. To me the flying pig is a symbol that represents the opposite, it is a symbol of the possibilities that are born from the imagination. Pigs aren't supposed to fly, but here they are, I made them fly. With a little creativity we can make anything we imagine come to life in some shape or form, even if it's just on paper. That's the beauty in being able to create. So whatever your pig is, give it a set of wings and let it fly.
I carved this sweet flying pig on a 5x7 block of linoleum. Once it was done I digitized it and turned it into a pattern that will be available in two different colors by the end of June as a fabric, wallpaper or wrapping paper on Spoonflower.
The version of my flying pig pictured above with a blueish background is available as an art print, pillow, cell phone case and more in my Society6 shop. If you are interested in an actual linocut print, shoot me an email and I will put you on my waiting list. I will produce a limited number of flying pig prints once I get settled in to my new home in July and hopefully lots of other prints too. More to follow on my move in another post :)
Intro to Stamp Making
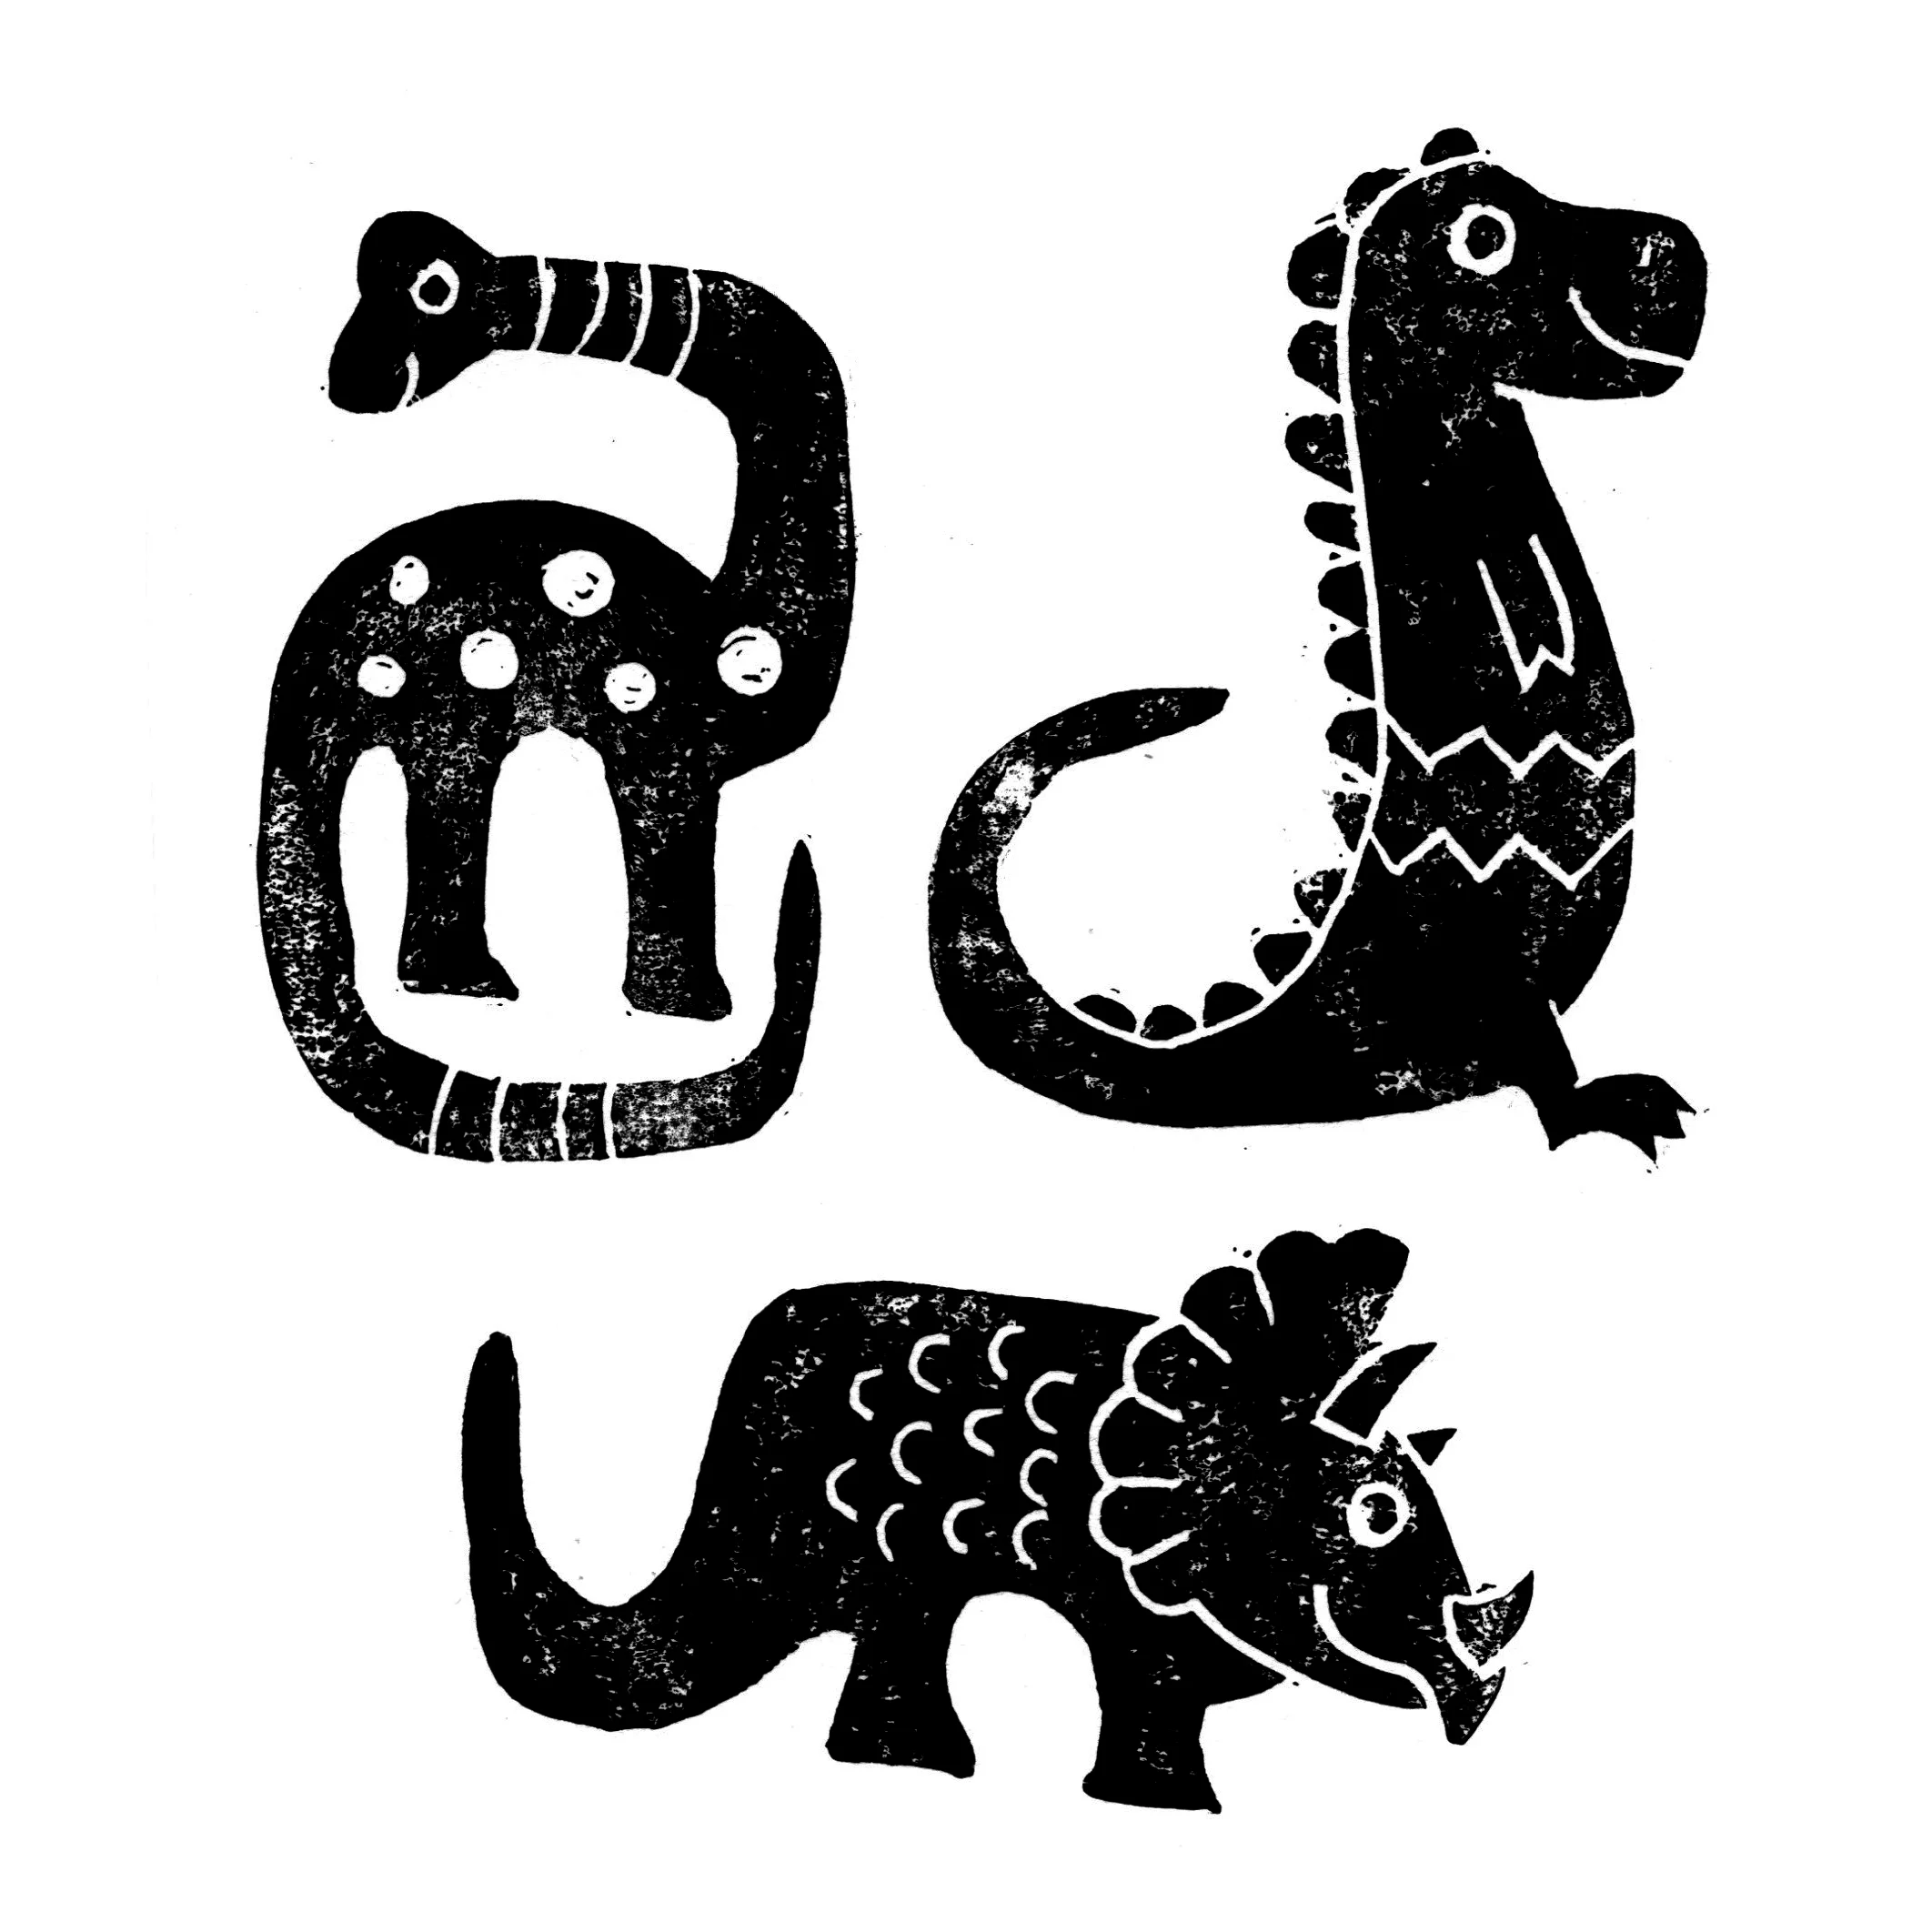
For anyone who's been following along over the past few weeks I've been exploring print making with hand carved stamps and lino-cuts for making patterns and other works of art. Today I'm mostly going to touch on stamp making. Stamp making on rubber is pretty simple, lino-cutting is a little more complicated only because linoleum can be pretty tough to carve. There are several different mediums that can be used besides rubber and linoleum but so far I've only explored those two. I'm finding that the linoleum is great for working on a print that's going to have a lot of detail, it also requires a bit more work to get a good print to include print making inks. Rubber is good for stamping and a simple ink pad is all that's needed to make a mark. I like to create rubber stamps if I need something quick and simple for a pattern I am working on.
To get started I recommend using rubber first. You'll need some scrap paper, a pencil, a sharpie, a rubber speedy cut block and a Speedball linoleum cutter. These items can be purchased via the links on Amazon (free shipping with Prime) or you can stop by your local Hobby Lobby. Unfortunately Michael's doesn't carry block cutting supplies. Once you have your supplies in hand spend some time researching your ideas and drawing thumbnails. Start with something simple and remember that you'll need to put your design on your rubber in reverse, especially text, otherwise you'll end up with a backwards mess. The nice thing about the rubber and linoleum is that it takes well to pencil so sketch your design out first in pencil and then go over it with a sharpie if needed. When you are ready to carve, start with the V cutter, moving it carefully away from your body. The U tools are useful for carving out larger areas but with the Speedball tools I find the larger V tool gets the job done. When you are done carving just ink, stamp and repeat. It's that easy.
When I'm done with my stamps I usually bring the imprints I make with them into Adobe Illustrator and create patterns, that's just one of many ways to use hand-made stamps.
If you need a little more direction, here's a quick CreativeBug video on stamp making, you can sign up for a free trial if you don't already have an account with them. There are also plenty of good tutorials on YouTube and a few good books. A good and really pretty starter book is Making an Impression: Designing & Creating Artful Stamps, by Geninne Zlatkis.
Good luck and please let me know how it goes by leaving a comment! Be sure to sign up for my newsletter for upcoming posts and tutorials.